 Pin It
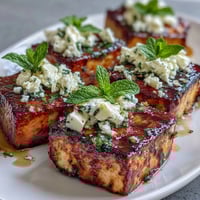
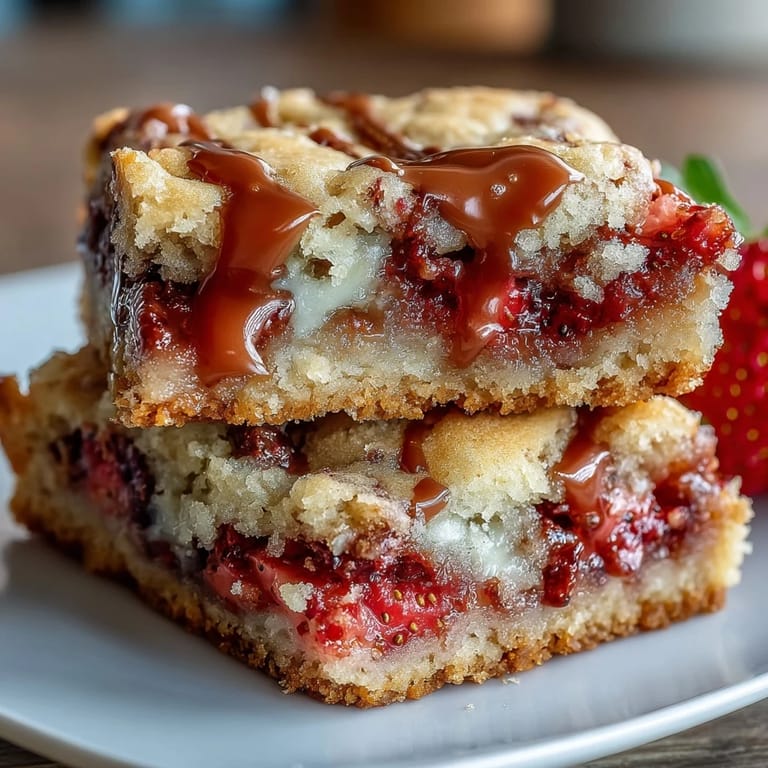
 There's something about late spring afternoons that makes me crave strawberries in unexpected places. I stumbled onto these bars while browsing through my grandmother's old recipe cards, except hers called for jam. The real magic happened when I decided to use fresh berries instead, nestled them right into soft, buttery dough, and watched them turn jammy during baking. My kitchen smelled like a farmer's market and vanilla had collided, and somehow I knew I'd be making these constantly from that moment forward.
I made a batch last summer for my neighbor's book club, and they were gone within five minutes of me setting the plate down. One woman came back the next day asking for the recipe, but honestly, I think she just wanted an excuse to eat more of them. It became the unofficial dessert of that whole season—I'd show up to events and people would ask if I'd brought the strawberry bars before even saying hello.
Ingredients
- All-purpose flour (2 cups): This is your structure, so don't sift unless you love dense bars—I learned that the hard way when I got overly careful one morning and ended up with hockey pucks.
- Baking powder and baking soda (1/2 tsp and 1/4 tsp): This combo lifts the bars just enough so they're tender without being cakey, which is the whole point of a bar cookie.
- Salt (1/4 tsp): A tiny pinch that wakes up the sweet and makes everything taste more like itself.
- Unsalted butter (1/2 cup, softened): Softened means it should leave an indent when you poke it—if you're impatient like me, cut it into chunks and let it sit while you prep everything else.
- Granulated and brown sugar (3/4 cup and 1/4 cup): The brown sugar adds moisture and a subtle caramel note that transforms the whole bar into something more interesting.
- Egg (1 large): Brings everything together and keeps the texture soft; room temperature works best if you remember to plan ahead.
- Vanilla extract (1 tsp): Use the real stuff if you can—it makes a difference you'll taste.
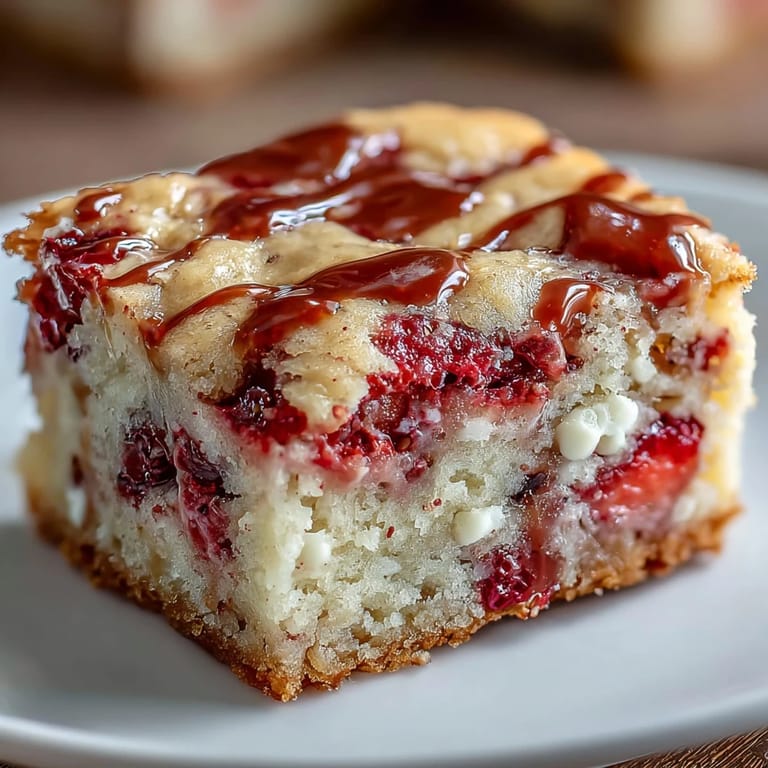
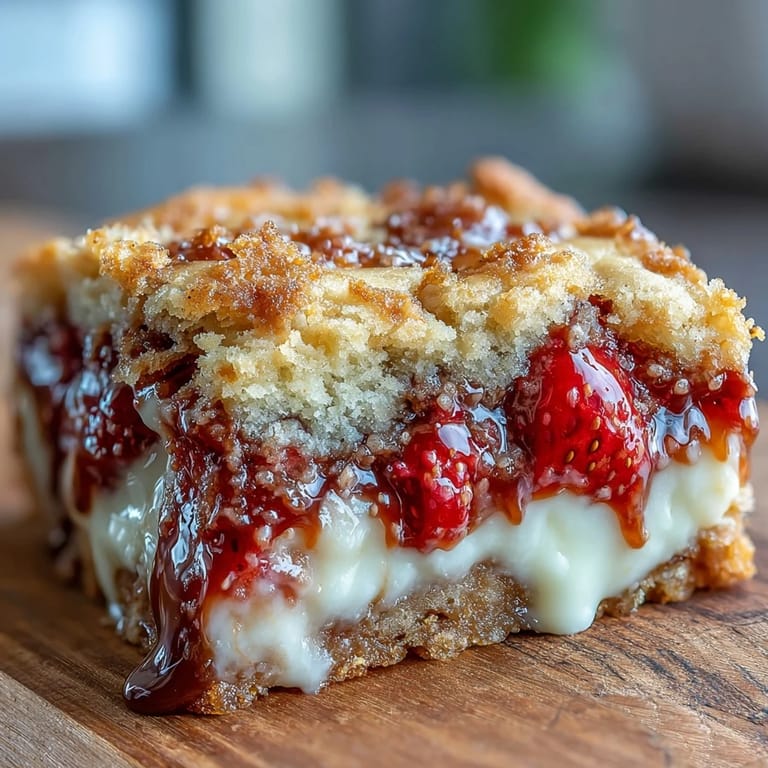
- Fresh strawberries (1 cup, diced): Choose berries that smell sweet and aren't mushy; they're going to release juice as they bake, which is absolutely what you want.
- White chocolate chunks (3/4 cup): These don't need to be fancy, but they shouldn't be waxy either—taste a piece before committing if you're unsure.
Tired of Takeout? 🥡
Get 10 meals you can make faster than delivery arrives. Seriously.
One email. No spam. Unsubscribe anytime.
Instructions
- Heat your oven and prep your pan:
- Set the oven to 350°F and line your 8x8-inch pan with parchment paper, letting some hang over the edges so you can grab the whole thing later. This little step saves you from the frustration of trying to pry warm bars out of a tight corner.
- Combine the dry team:
- Whisk flour, baking powder, baking soda, and salt together in a medium bowl and set it aside—this ensures everything distributes evenly instead of clumping up in your dough.
- Beat butter and sugars into creamy dreams:
- In a large bowl, beat the softened butter with both sugars for 2-3 minutes until it's pale and fluffy; this incorporation of air is what keeps these bars tender instead of dense. You'll hear the electric mixer change pitch a bit, which is your signal you're done.
- Add the wet ingredients:
- Drop in your egg and vanilla, mixing until fully combined and the bowl looks uniform again. Don't worry if it looks a little separated at first—that's normal.
- Fold in the dry ingredients:
- Add the flour mixture gradually and stir just until you can't see white streaks anymore—overmixing develops gluten and turns your tender bars tough, which nobody wants. This is where patience pays off.
- Gently fold in strawberries and white chocolate:
- Use a spatula and be gentle here because the berries will break if you're rough with them, and broken berries spread juice everywhere (not the worst thing, but less visually appealing). The fruit and chocolate chunks should be distributed throughout but not crushed.
- Spread and bake:
- Press the dough evenly into your prepared pan—it will feel thick and reluctant, so use an offset spatula or the back of a measuring cup to encourage it. Bake for 22-25 minutes until the top is golden and a toothpick comes out with a few moist crumbs clinging to it.
- Cool completely before cutting:
- Let the bars cool entirely in the pan on a wire rack—warm bars fall apart like they're embarrassed. Once cool, use the parchment overhang to lift the whole block out and slice into 16 bars with a sharp knife.
 Pin It
 My sister brought these to a family dinner once and my dad, who's notoriously unimpressed by desserts, asked for seconds. That was the moment I realized these bars had broken through his defenses—they were no longer just something I made, they were something that mattered to the people I cared about feeding.
Storage and Keeping Them Fresh
These bars live happily at room temperature in an airtight container for three days, though they'll start to dry out after that. I've found that stacking them with parchment paper between each layer keeps them from sticking together and makes grabbing one for breakfast (not that I do that) feel less guilty.
Variations That Actually Work
Once you nail the basic formula, the fun begins. I've swapped the white chocolate for dark chocolate chunks when I wanted something less sweet, and I've experimented with raspberries, blueberries, and even diced peaches during different seasons. The structure stays the same, but the flavor shifts completely depending on what you fold in.
The Small Details That Change Everything
The difference between bars that are just okay and bars that make people pause comes down to the details nobody talks about. Letting your butter soften properly instead of nuking it in the microwave, choosing berries that actually smell like strawberries, and taking the bars out of the oven right when they're golden—these things compound into something special. Everything else is just ingredients waiting for you to put them together.
- Fresh strawberries make a noticeable difference compared to frozen, so plan accordingly depending on the season and what you have access to.
- Cut these with a hot, dry knife—wipe the blade between each cut and your edges stay clean instead of ragged and crumbly.
- These pair beautifully with morning coffee or afternoon tea, making them perfect for sharing or sneaking for yourself.
 Pin It
 These bars have become my go-to when I want to feel like I've done something kind without spending all day in the kitchen. Every time someone asks for the recipe, I smile a little knowing it's about to become their favorite too.
Recipe FAQs
- → Can frozen strawberries be used in these bars?
Yes, but thaw and pat them dry thoroughly to avoid excess moisture which can affect the texture.
- → What types of chocolate work well in this dish?
White chocolate chunks are recommended, but dark or milk chocolate can be substituted for a different flavor.
- → How should these bars be stored?
Store in an airtight container at room temperature for up to three days to maintain freshness.
- → What is the baking time and temperature?
Bake at 350°F (175°C) for 22-25 minutes until the top is golden and a toothpick comes out with moist crumbs.
- → Are these bars suitable for vegetarians?
Yes, they contain no meat products and fit a vegetarian diet.