 Pin It
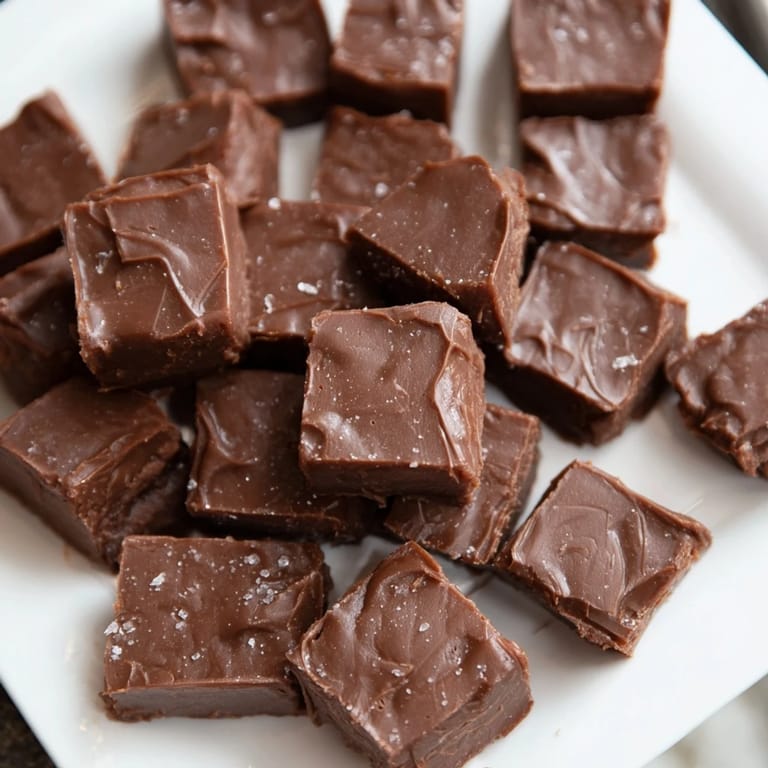
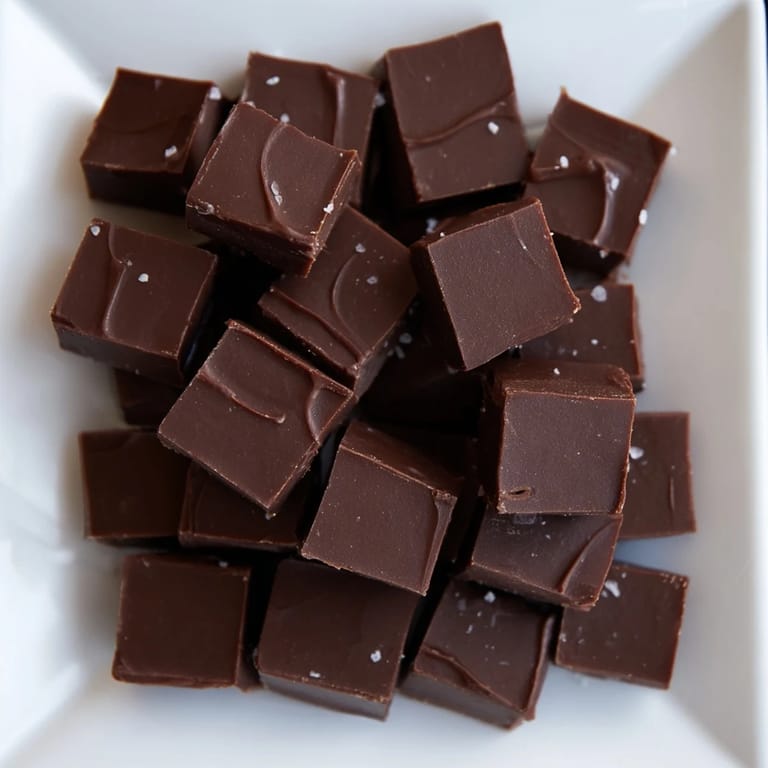
 My neighbor brought over a box of homemade fudge one winter afternoon, and I watched her face light up as I took that first bite—pure chocolate, buttery, melting on my tongue like it had no business being that good. I asked for the recipe immediately, and she laughed, saying it was her grandmother's, the kind of candy that sits in your kitchen and somehow disappears within days. That first batch I made was a small disaster; I didn't trust the thermometer and pulled it off too early, ending up with something grainy and disappointing. But I tried again the next week, and something clicked—the patience, the heat, the exact moment you know it's ready. Now fudge is the thing I make when I want to feel competent in the kitchen, when I want to create something small and perfect.
I made this fudge for my book club last month, and instead of people politely taking one square, they grabbed three or four and kept coming back to the plate. Someone asked if I'd actually made it myself, like it seemed impossible that it came from a home kitchen instead of a professional chocolaterie. That moment—watching people's faces when they realized I actually knew how to make something this good—made me understand why people love to cook for others.
Ingredients
- Unsalted butter (1 cup): Use real butter, not margarine—it's what gives fudge that luxurious mouth-feel and keeps it from tasting waxy.
- Whole milk (2/3 cup): Don't skimp on milk quality; whole milk creates that signature creamy texture that makes fudge different from chocolate candy.
- Granulated sugar (3 cups): This is non-negotiable—brown sugar or alternative sugars change the final texture and won't reach the right stage.
- Semi-sweet chocolate chips or chopped chocolate (2 cups): I prefer chopped chocolate because it melts more evenly, but chips work fine if that's what you have on hand.
- Pure vanilla extract (1 tsp): Real vanilla matters here; imitation extract tastes thin and artificial against the chocolate.
- Fine sea salt (1/4 tsp): Just a whisper of salt deepens the chocolate flavor and keeps it from being cloyingly sweet.
Tired of Takeout? 🥡
Get 10 meals you can make faster than delivery arrives. Seriously.
One email. No spam. Unsubscribe anytime.
Instructions
- Set up your stage:
- Line an 8x8-inch pan with parchment paper, leaving enough overhang so you can pull the whole block out cleanly later—trust me, this saves you from chipping fudge out of the pan with a knife.
- Start the foundation:
- In a heavy-bottomed saucepan over medium heat, melt the butter, then stir in sugar and milk until everything looks combined and smooth. This is where the magic starts—the mixture will look innocuous at first.
- Bring it to a rolling boil:
- Stir constantly and let it bubble up; this is not a gentle simmer situation. Keep stirring so nothing catches on the bottom, which would create a grainy texture you can't fix.
- Watch the thermometer like a hawk:
- Clip a candy thermometer to the pan and cook, stirring frequently, until it hits 238°F—the soft-ball stage. This takes about 10–15 minutes, and this temperature is everything; too cool and it won't set, too hot and it becomes brittle.
- The dramatic finish:
- Remove from heat immediately, add chocolate, vanilla, and salt, then stir vigorously until the chocolate melts completely and the mixture turns thick, glossy, and dark. You'll feel it transform under the spoon.
- Pour and spread:
- Work quickly because the fudge cools fast once it hits the pan; pour it all in and smooth the top with a spatula so it's even.
- The hardest part—waiting:
- Let it sit at room temperature for 2 hours until it's completely set; this is when it develops that perfect texture, not too soft and not rock-hard.
- Cut and claim:
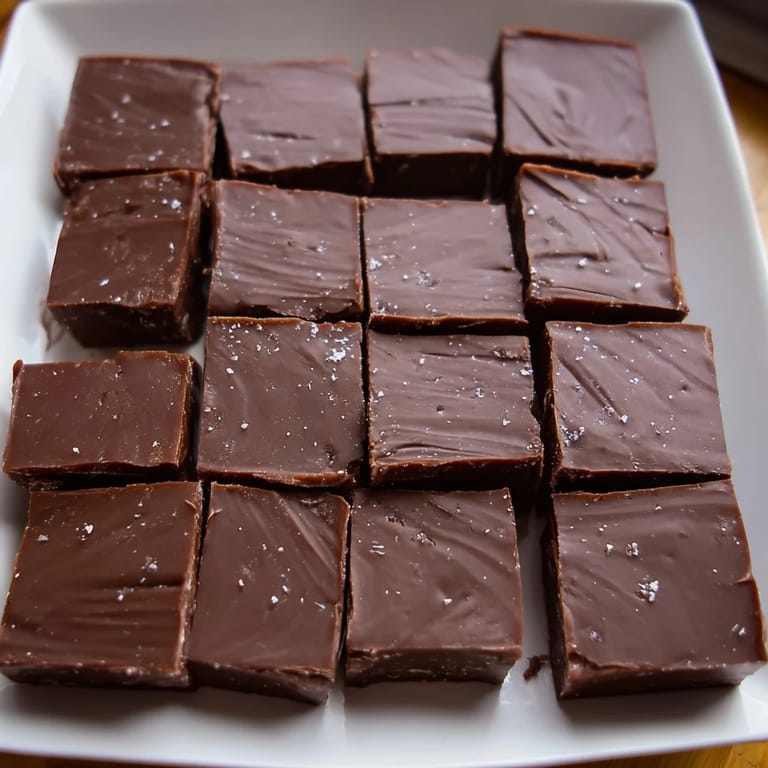
- Lift the whole block out using the parchment overhang, place it on a cutting board, and use a sharp knife (dip it in hot water between cuts if the fudge sticks) to divide it into 36 neat squares.
 Pin It
 My daughter asked me to make fudge for her school bake sale, and when it sold out before the end of the day, she texted me a photo of the empty plate with just the word 'legend.' It's funny how a simple candy can become a small source of pride, how something you make with your own hands can mean something to someone else.
Variations That Work
The base recipe is perfect on its own, but it's also incredibly forgiving when you want to play around. I've folded in toasted walnuts or pecans—about a cup, chopped roughly—right before pouring, and it adds this nutty complexity that makes people ask what's different. Dark chocolate swaps in beautifully if you prefer something less sweet, and I've even made white chocolate fudge by using white chocolate chips instead and cutting the vanilla back to just a half-teaspoon. The ratio stays the same, the thermometer temperature doesn't change, and suddenly you've got a completely different treat that still feels homemade and special.
Storage and Shelf Life
Fudge keeps incredibly well, which is both a blessing and a curse depending on your willpower. I store mine in an airtight container at room temperature for up to two weeks, and it honestly tastes better after a day or two once the flavors settle. If you want it to last longer, wrap squares individually in parchment paper and freeze them for up to three months—they thaw quickly and taste just as good. The one thing I learned the hard way is that fudge absorbs odors, so store it away from anything with a strong smell, especially if you've got aged cheese or garlic in your fridge.
Making It Perfect Every Time
The secret to fudge is understanding that you're creating a specific crystal structure by cooking sugar to an exact point and then agitating it just enough while it cools. Too much stirring while it sets and you get grainy fudge; too little and it stays soft. I've found that using a heavy-bottomed pan makes the biggest difference—it distributes heat evenly so nothing burns on the bottom. If you accidentally overshoot the temperature by a few degrees, you'll end up with something more like toffee, which is still delicious but requires a different approach to cutting.
- Test your thermometer in boiling water first to make sure it reads 212°F—a faulty thermometer will throw off your entire batch.
- If your fudge turns out grainy, you can sometimes rescue it by reheating it gently with a splash of cream and trying again, but prevention is easier than rescue.
- For a firmer texture, chill the set fudge in the refrigerator for an hour before cutting—it'll be easier to slice cleanly.
 Pin It
 Fudge is the kind of candy that reminds me why I love cooking—it's simple enough that anyone can make it, but precise enough that it feels like an accomplishment. There's something deeply satisfying about turning four basic ingredients into something so good that people ask for the recipe.
Recipe FAQs
- → What is the soft-ball stage in candy making?
The soft-ball stage refers to heating sugar syrup to about 238°F (114°C), where it forms a soft, flexible ball when dropped into cold water, essential for the right texture.
- → Can I use different types of chocolate?
Semi-sweet chocolate chips or chopped chocolate work well, but milk or dark chocolate can be used to vary sweetness and richness.
- → How do nuts affect the final product?
Adding chopped toasted walnuts or pecans before setting introduces a pleasant crunch and enhances flavor complexity.
- → What tools are needed to make the confection?
A heavy-bottomed saucepan, candy thermometer, wooden spoon or spatula, a square baking pan, parchment paper, and a sharp knife are recommended.
- → How long should the confection cool before slicing?
Cooling at room temperature for about 2 hours allows the confection to fully set and achieve the perfect texture for slicing.
- → Is refrigeration necessary after setting?
Refrigerating for an hour can help achieve a firmer texture but is optional depending on preference.