 Pin It
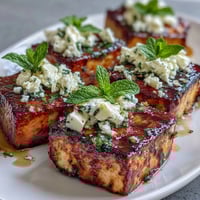
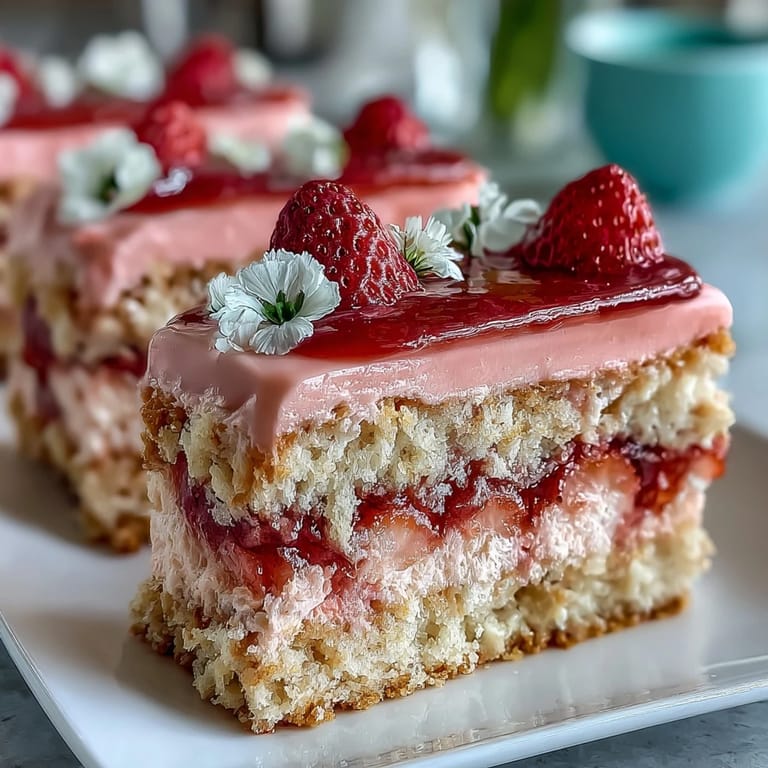
 My sister called two weeks before Mother's Day in a panic—she'd promised to bring the cake, then realized she couldn't bake anything without burning it. So there I was, standing in my kitchen at 6 a.m. on a Saturday, deciding that if I was going to do this, I'd make something that looked as beautiful as the occasion deserved. That's when I landed on a pink ombre cake, the kind that makes people gasp a little when you walk it into a room. Three layers of vanilla sponge, buttercream in gradients from barely-there blush to bold rose, topped with edible flowers that felt like I'd plucked them from a garden. It became the centerpiece of that brunch, and honestly, it's been my go-to celebration cake ever since.
I'll never forget watching my mom's face when she saw this cake at her birthday dinner last summer. She's not the sentimental type, but something about those soft pink layers and the little violets scattered on top made her tear up slightly before she laughed it off. Everyone wanted to know if I'd bought it from a bakery, and I got to say no with this small proud moment in my chest. That's when I knew this recipe wasn't just about baking—it was about creating something that felt handmade and personal, the way things used to be.
Ingredients
- All-purpose flour: Use 315 g by weight if possible—scooping and leveling can pack the flour and make your cake dense.
- Baking powder: Freshness matters here; old baking powder won't give you that light crumb structure, so check the date.
- Unsalted butter: Room temperature is non-negotiable—cold butter won't cream properly and you'll end up with a grainy texture.
- Granulated sugar: This is what aerates the butter, so don't skip the creaming step or rush it.
- Large eggs: Also room temperature; cold eggs won't incorporate smoothly and you might end up with a slightly curdled batter.
- Pure vanilla extract: The real stuff makes a noticeable difference in flavor depth.
- Whole milk: The slight fat content keeps the cake moist longer than low-fat milk would.
- Powdered sugar: Sift it before measuring to avoid lumps in your buttercream.
- Gel food coloring: This is my secret weapon—it tints without adding liquid, which keeps your buttercream the right consistency.
- Edible flowers: Violets and pansies look stunning, but make sure they're labeled specifically for eating.
Tired of Takeout? 🥡
Get 10 meals you can make faster than delivery arrives. Seriously.
One email. No spam. Unsubscribe anytime.
Instructions
- Set up your oven and pans:
- Preheat to 350°F and grease your three 8-inch round pans with butter, then line the bottoms with parchment paper so the cakes release cleanly. This step feels tedious but saves you from heartbreak later.
- Mix your dry ingredients:
- Whisk together flour, baking powder, and salt in a medium bowl. This ensures the leavening distributes evenly through the batter.
- Cream butter and sugar:
- Beat them together on medium-high speed for 3 to 4 minutes until the mixture is pale, fluffy, and looks almost like wet sand. This is where the magic happens—you're incorporating air that makes the cake tender.
- Add eggs one at a time:
- Mix each egg in completely before adding the next, then add vanilla extract. Going slowly here prevents the batter from looking separated or curdled.
- Alternate wet and dry ingredients:
- Add about a third of your flour mixture, then half the milk, then another third of flour, then the remaining milk, finishing with the last of the flour. Mix on low speed until just combined—overmixing develops gluten and makes the cake tough.
- Divide and bake:
- Pour batter evenly into the three pans and bake for 25 to 30 minutes until a toothpick comes out clean. Let them cool in the pans for 10 minutes, then turn them out onto wire racks to cool completely.
- Beat butter for buttercream:
- Cream the butter on high speed for 2 to 3 minutes until it's pale and fluffy. This aerates the buttercream so it's light and spreadable.
- Build the buttercream:
- Gradually add sifted powdered sugar on low speed, then add vanilla and milk, and beat on high for 3 minutes until fluffy and cloud-like. The whole process takes patience but pays off in texture.
- Create your ombre shades:
- Divide the buttercream into four bowls—leave one white, then add increasing amounts of gel food coloring to the other three to get pale pink, medium pink, and dark pink. The gradation should go from almost white to a sunset rose.
- Stack and frost:
- Place the first cake layer on your serving plate, spread the darkest pink buttercream on top, add the second layer with medium pink, then the final layer. Frost the top with light pink buttercream and cover the sides with the white.
- Smooth and blend:
- Use an offset spatula to smooth everything, and if you're feeling ambitious, use a bench scraper to blend the ombre effect up the sides for a gradient that flows naturally. It doesn't have to be perfect—imperfections actually look more artisanal.
- Add flowers and chill:
- Arrange edible flowers on top just before serving for maximum freshness, then refrigerate the cake for 30 minutes before slicing so the cuts stay clean.
 Pin It
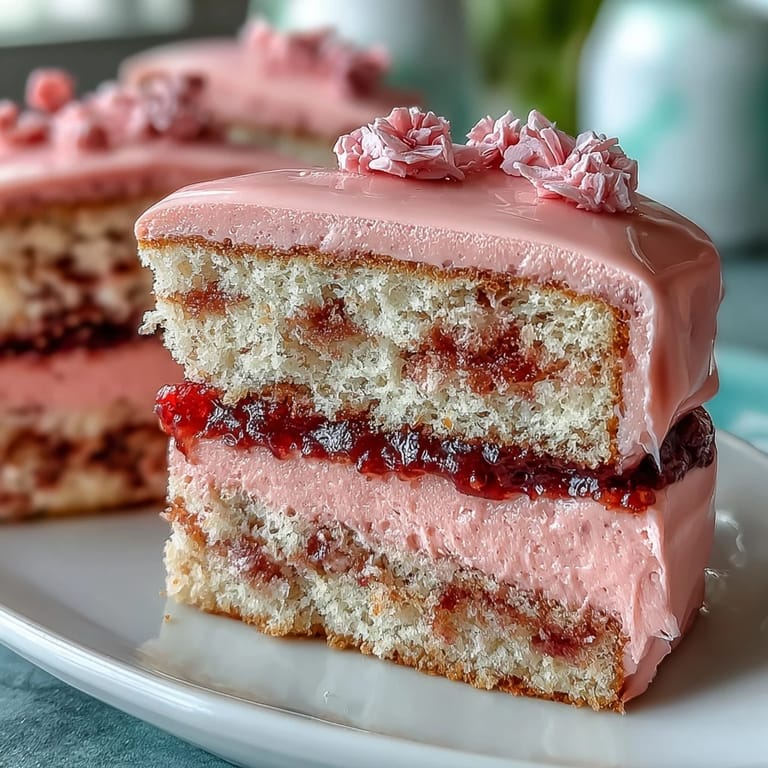
 There's something almost meditative about layering this cake, watching the colors shift from one shade to the next as you work your way up. I played a playlist of songs from the 80s the last time I made this, and by the time I was done decorating, I felt calmer than I had in weeks. Baking isn't always about rushing to an end product—sometimes it's about the ritual of making something beautiful with your hands.
Leveling and Layering Like a Pro
If your cake layers come out domed on top, don't panic. A serrated knife works beautifully for leveling—just slice off the dome gently and use it as a tasting quality control moment. The three-layer structure means you have room for error, and honestly, the frosting covers a multitude of imperfections. I've made this cake with layers that weren't perfectly even, and once the buttercream goes on, nobody notices.
Simple Syrup Secret
My neighbor mentioned in passing that she brushes her cake layers with simple syrup before frosting, and I dismissed it until I tried it. Equal parts sugar and water, boiled until the sugar dissolves, cooled slightly, then brushed onto each layer—it sounds fussy but adds incredible moisture and flavor depth. The cake stays tender longer, and it gives everything a subtle sweetness that makes people ask what your secret ingredient is. Now I do it every single time.
Making This Cake Your Own
The beauty of this recipe is that it's flexible enough to adapt to what you have on hand or what you're feeling. You can change the flower colors to match any occasion, swap the buttercream flavoring if you want almond or lemon extract instead, or even add a teaspoon of rose water to the frosting for something more floral and sophisticated. I've made versions with edible glitter, gold leaf, and even pearl dust dusted across the top, and each one feels special in its own way.
- If you're nervous about the ombre effect, practice making the color gradients in small bowls first to get a feel for how much food coloring to add.
- Fresh flowers are beautiful, but make absolutely certain they're edible and pesticide-free before putting them on the cake.
- This cake actually tastes better the next day after the flavors have had time to meld and settle.
 Pin It
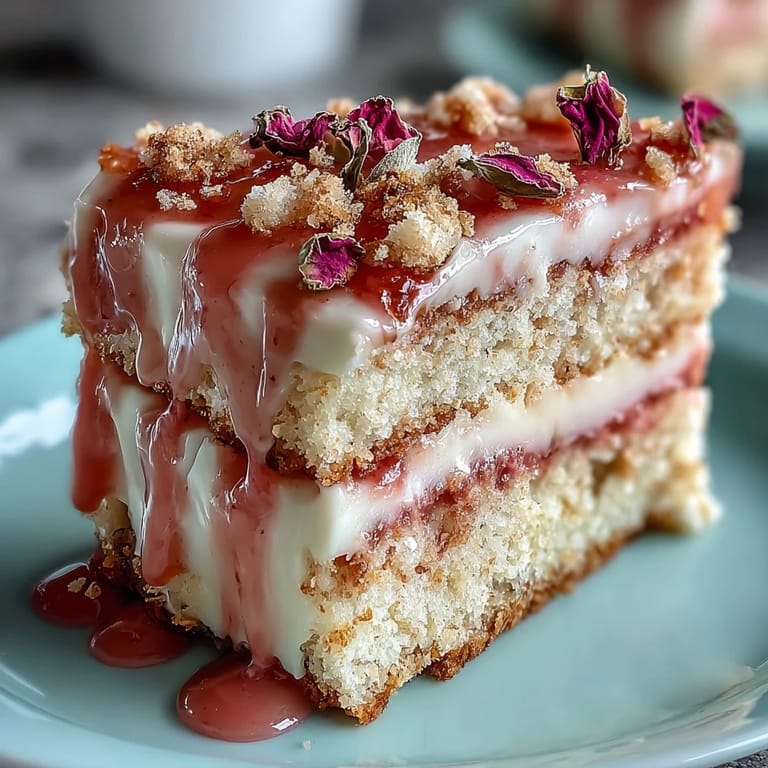
 This cake has become my answer whenever someone asks what to bring to a celebration. It's elegant enough that people think you spent hours on it, but honest enough that you feel the joy of homemade baking in every bite.
Recipe FAQs
- → How do I achieve the pink ombre effect on the buttercream?
Divide the buttercream into multiple bowls and tint each with increasing amounts of pink food coloring. Spread each shade strategically between layers to create a smooth gradient.
- → What is the best way to keep the cake moist?
Brushing the cooled cake layers with simple syrup before frosting helps retain moisture and adds a subtle sweetness.
- → Can I use fresh flowers for decoration?
Yes, edible flowers like violets, pansies, and rose petals work beautifully. Ensure they are pesticide-free and safe for consumption.
- → How long should I chill the cake before slicing?
Chilling the decorated cake for at least 30 minutes firms up the buttercream, allowing cleaner, neater slices.
- → Are there alternative coloring options for the buttercream?
Gel food coloring is preferred for vibrant hues without affecting the buttercream's consistency.