 Pin It
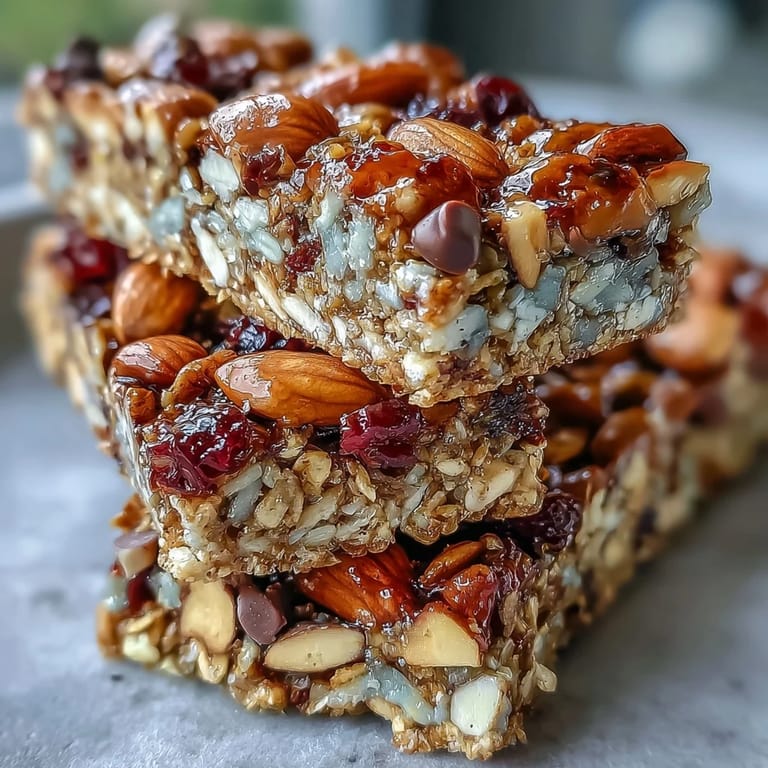
 Last summer, I was frantically packing for a camping trip and realized I'd forgotten snacks entirely. Standing in my kitchen with thirty minutes to spare, I threw together whatever I had—oats, peanut butter, honey, some dried cranberries hiding in the pantry—and discovered something magical: no oven required, just a pan and a refrigerator. Those bars became legendary among my hiking friends, and now I make them constantly because they're honestly impossible to mess up.
I made these for my daughter's school bake sale, except we called them "adventure bars" because they were sitting right next to homemade brownies. They sold out first, which shouldn't have surprised me but somehow did—there's something about a snack that's both wholesome and actually tasty that people can't resist.
Ingredients
- Old-fashioned rolled oats (2 cups): These are your foundation, giving the bars that perfect chewy texture; steel-cut oats are too chunky and quick oats turn mushy, so stick with old-fashioned.
- Crisp rice cereal (1 cup): This adds a subtle crunch and keeps things from feeling heavy, plus it helps the bars hold together beautifully.
- Mixed nuts, chopped (1/2 cup): Almonds, walnuts, or pecans all work, and chopping them by hand gives you better texture control than buying pre-chopped.
- Dried fruit (1/2 cup): Cranberries, raisins, or apricots bring natural sweetness and chewiness; avoid anything too moist or it'll make the bars soggy.
- Unsweetened shredded coconut (1/4 cup, optional): Toasting it first in a dry pan for two minutes deepens the flavor if you decide to use it.
- Salt (1/4 teaspoon): This tiny amount elevates everything, making the sweetness feel more complex and less one-dimensional.
- Honey or maple syrup (1/2 cup): Honey sets firmer when chilled, while maple syrup stays slightly softer, so choose based on how dense you want your bars.
- Creamy peanut or almond butter (1/3 cup): This is the binding agent that holds everything together, so don't skip it or try to reduce it.
- Vanilla extract (1 teaspoon): A small touch that rounds out the flavors without being noticeable.
- Mini chocolate chips (1/4 cup, optional): Add these after the mixture cools slightly or they'll completely dissolve into the warmth.
Tired of Takeout? 🥡
Get 10 meals you can make faster than delivery arrives. Seriously.
One email. No spam. Unsubscribe anytime.
Instructions
- Set up your stage:
- Line that eight-inch pan with parchment paper and let the edges hang over the sides—this is your escape route later when you need to lift the whole thing out cleanly.
- Combine everything dry:
- Toss the oats, rice cereal, nuts, dried fruit, coconut, and salt into a large bowl and mix until it feels evenly distributed. This takes about a minute and prevents clumping later.
- Warm the binders:
- In a small saucepan over low heat, stir the honey and peanut butter together until they're completely smooth and warm, roughly two to three minutes. You're not cooking anything, just making it pourable.
- Marry wet and dry:
- Pull the pan off heat, stir in the vanilla, then pour this warm mixture over your dry ingredients. Use a sturdy spoon or spatula to mix everything thoroughly until every bit of oat and nut is coated.
- Handle chocolate carefully:
- If you're using chocolate chips, wait two to three minutes for the mixture to cool slightly before stirring them in, otherwise they'll turn into chocolate soup.
- Press into the pan:
- Transfer your mixture into the lined pan and press it down firmly and evenly using a spatula or the back of a measuring cup—don't be shy here, compression is what makes these bars hold together.
- Add a finish:
- Sprinkle any extra chocolate chips or nuts on top and press them in gently so they stick to the surface.
- Chill until set:
- Refrigerate for at least one hour, or until everything feels firm when you press it gently with your finger.
- Cut and store:
- Use the parchment overhang to lift the whole slab out, then cut it into twelve bars with a sharp knife—a wet knife helps if they're sticking. Store them in an airtight container in the fridge for up to a week.
 Pin It
 My neighbor brought over homemade energy bars once, and mine seemed so simple compared to hers that I almost didn't try them. Then I realized these no-bake bars were actually better—less fussy, more honest, tasting like actual food instead of a recipe that needed three specialty ingredients.
Flavor Combinations That Work
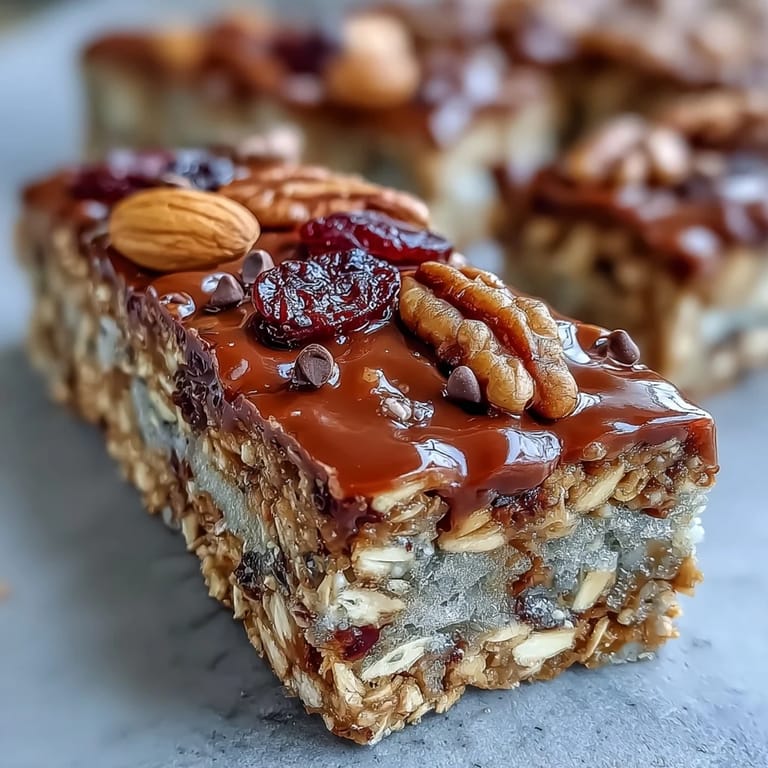
Once you make the base version, you'll start seeing possibilities everywhere. I've done apricot and almond with a dash of cardamom, which tastes warm and almost Middle Eastern. My partner loves cranberry and pecan with dark chocolate chips, while someone at work swears by raisin and walnut with a teaspoon of cinnamon stirred into the honey mixture.
Making Them Nut-Free or Vegan
Swap the peanut butter for sunflower seed butter if you're avoiding tree nuts—it's slightly thinner, so use just under one-third cup instead of the full amount. For vegan bars, maple syrup replaces honey perfectly, and there are plenty of dairy-free chocolate chips that don't taste like cardboard anymore.
Why These Are Perfect for On-the-Go
These bars are densely packed with actual nutrition—they're not light and airy like some energy bar recipes, which means they genuinely keep you satisfied during a long hike or car ride. They pack beautifully, don't crumble everywhere in your backpack, and taste good at any temperature because the honey and nut butter keep them moist. Some friends wrap them individually in parchment, which is genius for grab-and-go situations.
- Pack them in a small airtight container with a paper towel to absorb any condensation from the fridge.
- They travel well for a week, making them perfect for meal prep on Sundays.
- A single bar with iced tea or coffee is a completely legitimate breakfast when you're running late.
 Pin It
 There's something genuinely satisfying about making snacks that taste better than anything store-bought and cost a fraction of the price. These bars remind me that the best recipes are the ones you actually keep coming back to.
Recipe FAQs
- → Can I substitute peanut butter with other nut butters?
Yes, almond butter or sunflower seed butter can be used for different flavors or to make the bars nut-free.
- → How long should the bars chill before serving?
Refrigerate for at least 1 hour to allow the bars to set firmly before cutting and serving.
- → Are there vegan options for these bars?
Use maple syrup instead of honey and dairy-free chocolate chips for a vegan-friendly version.
- → Can I add spices to enhance the flavor?
Yes, cinnamon or cardamom can be added to the dry mix for a warm, aromatic touch.
- → What tools are needed to prepare these bars?
A large mixing bowl, small saucepan, 8-inch square pan, parchment paper, spatula, and sharp knife are required.
- → How should the bars be stored?
Store in an airtight container in the refrigerator for up to one week to maintain freshness.