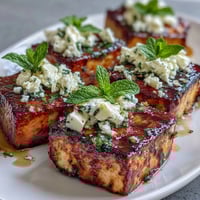
 Pin It
 There's something about the sound of a wooden stick piercing through an apple's skin that takes me straight back to fall festivals and county fairs. My grandmother used to make these candy apples every October, and I'd watch from the kitchen counter as she'd dip each one with the precision of someone who'd done it a thousand times, the red candy coating turning glossy and perfect under the kitchen lights. Years later, I realized the magic wasn't just in the candy itself, but in how quickly you had to work, how the thermometer became your best friend, and how that white chocolate drizzle transformed something nostalgic into something entirely your own.
I made these for a Halloween party last year, and what I didn't expect was how my friends would actually fight over who got to hold one while we sat on the porch watching the trick-or-treaters pass by. Someone mentioned they tasted like childhood, and suddenly everyone was sharing their own candy apple stories, each one slightly different, all of them tinged with the same kind of longing. It struck me then that food like this does more than satisfy hunger, it becomes a bridge between who we were and who we are now.
Ingredients
- Granny Smith or Gala apples (8 small to medium): Granny Smiths give you that necessary tartness that balances the sweetness of the coating, but Gala apples work beautifully if you prefer something milder and slightly honeyed.
- Wooden sticks (8): Regular craft or popsicle sticks work perfectly, and if you want something sturdier, find lollipop sticks at baking supply stores.
- Granulated sugar (2 cups): This is your foundation, so don't use powdered or brown sugar here.
- Light corn syrup (1/2 cup): This prevents crystallization and gives you that glossy, professional finish you're after.
- Water (3/4 cup): Room temperature is fine, nothing fancy needed.
- Red gel or liquid food coloring (1/2 tsp): Gel coloring gives deeper, more vibrant red than liquid, and won't thin out your candy mixture.
- Cream of tartar (1/8 tsp, optional): This is my secret weapon for smoother candy, though you can skip it if you don't have it on hand.
- White chocolate (3 oz, chopped or chips): Quality matters here since you're only using a small amount, so splurge slightly if you can.
- Coconut oil or vegetable oil (1 tsp, optional): A tiny bit of oil makes the white chocolate flow more elegantly when drizzling, without affecting the taste.
Tired of Takeout? 🥡
Get 10 meals you can make faster than delivery arrives. Seriously.
One email. No spam. Unsubscribe anytime.
Instructions
- Prepare your workspace like you mean it:
- Line a baking sheet with parchment paper and give it a light grease so the apples don't stick. Push wooden sticks firmly into the stem end of each apple, angling them slightly so they're secure and centered.
- Build your candy base:
- In a heavy-bottomed saucepan, combine the sugar, corn syrup, water, and cream of tartar if you're using it. Stir gently just until everything comes together, then stop stirring entirely.
- Watch the thermometer like a hawk:
- Set the pan over medium heat and attach your candy thermometer to the side. You're waiting for the mixture to reach 250°F (121°C) without stirring, which can take anywhere from 8 to 12 minutes depending on your stove.
- Add color at the right moment:
- Once you hit 250°F, add your red food coloring and gently swirl the pan to blend it in, but don't stir with a spoon. This is crucial.
- Push to hard crack stage:
- Keep the heat steady and let the candy climb to 300°F (149°C), which should take another 5 to 8 minutes. You'll notice the mixture becomes darker and slightly translucent at the edges.
- Work quickly with the dipping:
- Remove the pan from heat immediately when it reaches 300°F. Tilt the pan slightly and dip each apple, rotating it gently to coat evenly, then lift it out and let the excess candy drip back into the pan before setting it on your prepared baking sheet.
- Let the candy harden:
- Give the apples about 10 minutes on the counter for the candy coating to set completely and cool.
- Melt the white chocolate gently:
- In a microwave-safe bowl, combine your white chocolate and coconut oil (if using) and heat in 20-second bursts, stirring between each burst until it's completely smooth and glossy.
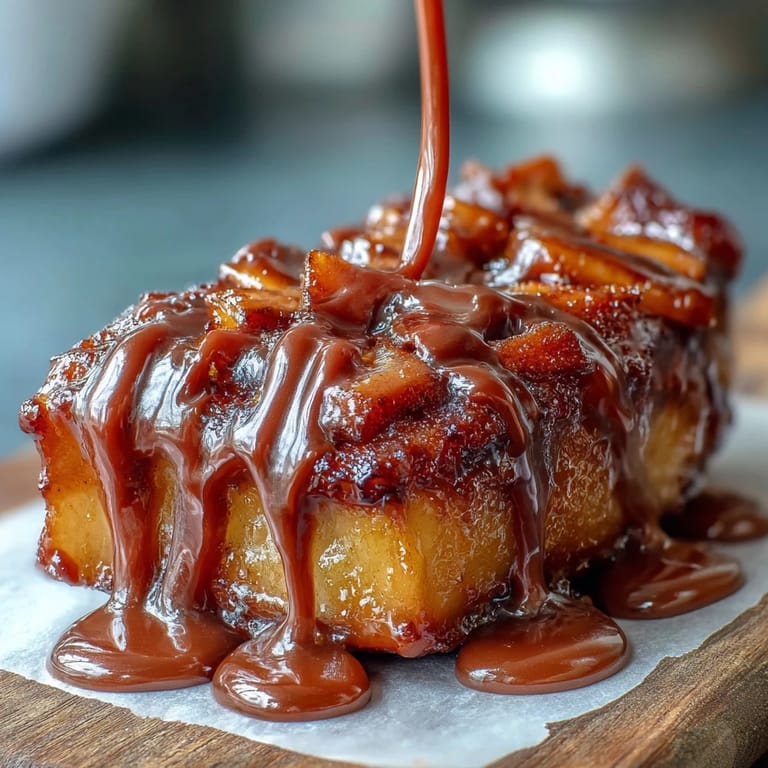
- Drizzle with intention:
- Using a spoon or piping bag, create thin, delicate lines of white chocolate across each candy apple. Let it set for another 10 minutes before anyone even thinks about eating one.
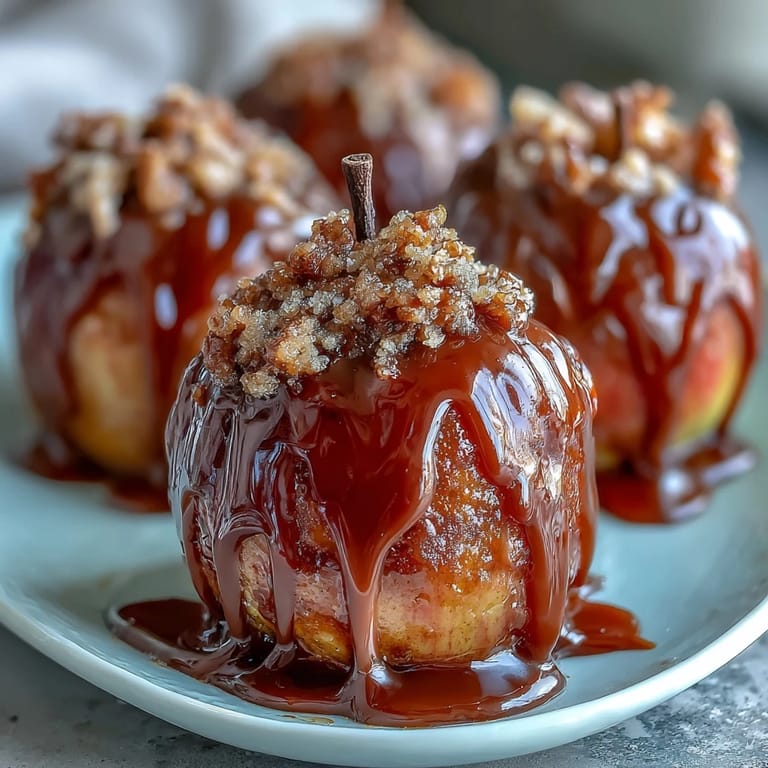
 Pin It
 The first time I made these without a thermometer, thinking I could eyeball the doneness, I ended up with apples that were sticky and never fully set, practically glued to everyone's hands. That failure taught me more than a dozen perfect batches ever could, and now I'm almost grateful for that disaster because it's why I'll never make that mistake again.
Why Temperature Really Matters
Candy making is one of the few areas in the kitchen where precision isn't optional, it's essential. The difference between 295°F and 305°F might seem tiny, but it's the difference between a candy coating that bends and one that shatters. I learned this by talking to a woman at a farmers market who'd been making candy apples since the 1970s, and she told me that the thermometer was her greatest teacher, more reliable than any intuition she'd built up over decades.
Customizing Your Candy Apples
The beauty of this recipe is that it's a blank canvas waiting for your personal touch. The second you pull those candy-coated apples out of the pan, you have a brief window to press chopped nuts, sprinkles, or crushed candy into the still-warm coating, and each combination tells a different story. I've seen people go minimalist with just the white chocolate drizzle, and others who treat them like edible art projects, adding everything from edible glitter to salted pretzel bits.
- Roll warm apples in crushed walnuts, pecans, or pistachios for texture and sophistication.
- Add sprinkles, nonpareils, or pearl dust while the candy is still tacky for a festive finish.
- Try a dark chocolate drizzle instead of white chocolate if you want something richer and less sweet.
Storage and Make-Ahead Tips
These apples actually keep beautifully for several days if you store them in an airtight container at room temperature, away from humidity and direct sunlight. I once made a batch four days before a party because I was panicking about time, and they were just as crispy and delicious on serving day as they would have been fresh.
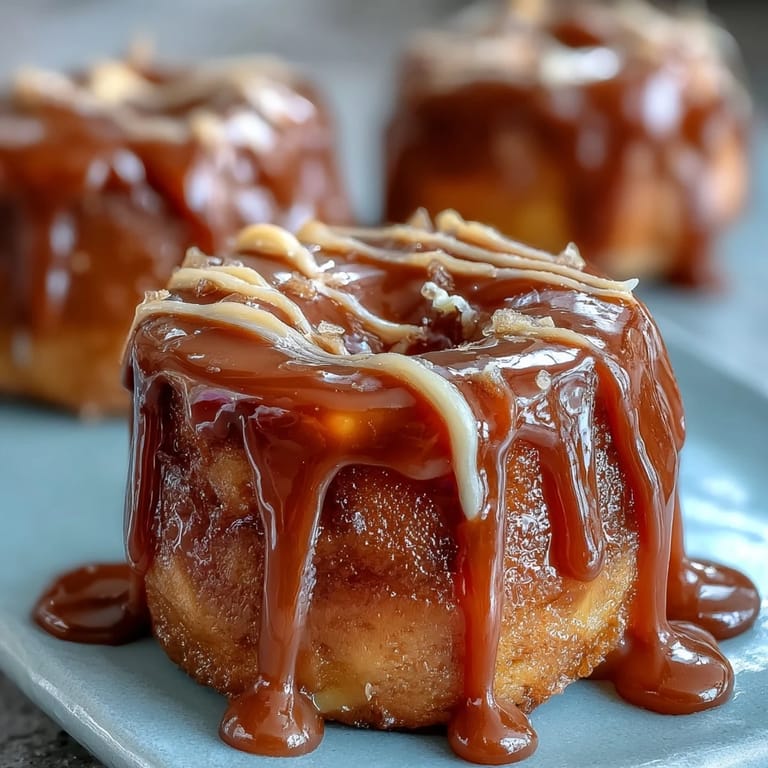
 Pin It
 Making candy apples is one of those rare kitchen moments where you feel like you're creating something that matters, something that will be remembered long after the last bite. That's worth the few minutes of careful attention this recipe asks for.
Recipe FAQs
- → What type of apples work best for candy coating?
Firm, tart apples like Granny Smith or Gala hold up well and provide a nice balance to the sweet candy shell.
- → How do I achieve the perfect candy coating texture?
Boil the sugar mixture to 300°F (hard crack stage) without stirring after color addition to get a crisp, shiny shell.
- → Can the white chocolate drizzle be adjusted?
Yes, melting white chocolate with a small amount of coconut or vegetable oil ensures a smooth, easy-to-drizzle finish.
- → How should the apples be prepared before dipping?
Wash and thoroughly dry the apples, then firmly insert wooden sticks for easy handling during coating.
- → Are there any variations to the candy coating?
You can add chopped nuts or sprinkles to the candy while it sets for extra texture and visual appeal.
- → Is there a substitute for dairy in the drizzle?
Vegan white chocolate can be used to make the drizzle dairy-free without compromising flavor.